


|
|
|
Primorac Carbon Restoration - SDC |
Post Reply 
|
| Author | ||
Hipnotic 
Silver Member 
Joined: 09/30/2019 Location: Portugal Status: Offline Points: 772 |
 Post Options Post Options
") Thanks(0) Thanks(0)
 Quote Reply Quote Reply
 Topic: Primorac Carbon Restoration - SDC Topic: Primorac Carbon Restoration - SDCPosted: 01/23/2021 at 6:24pm |
|
|
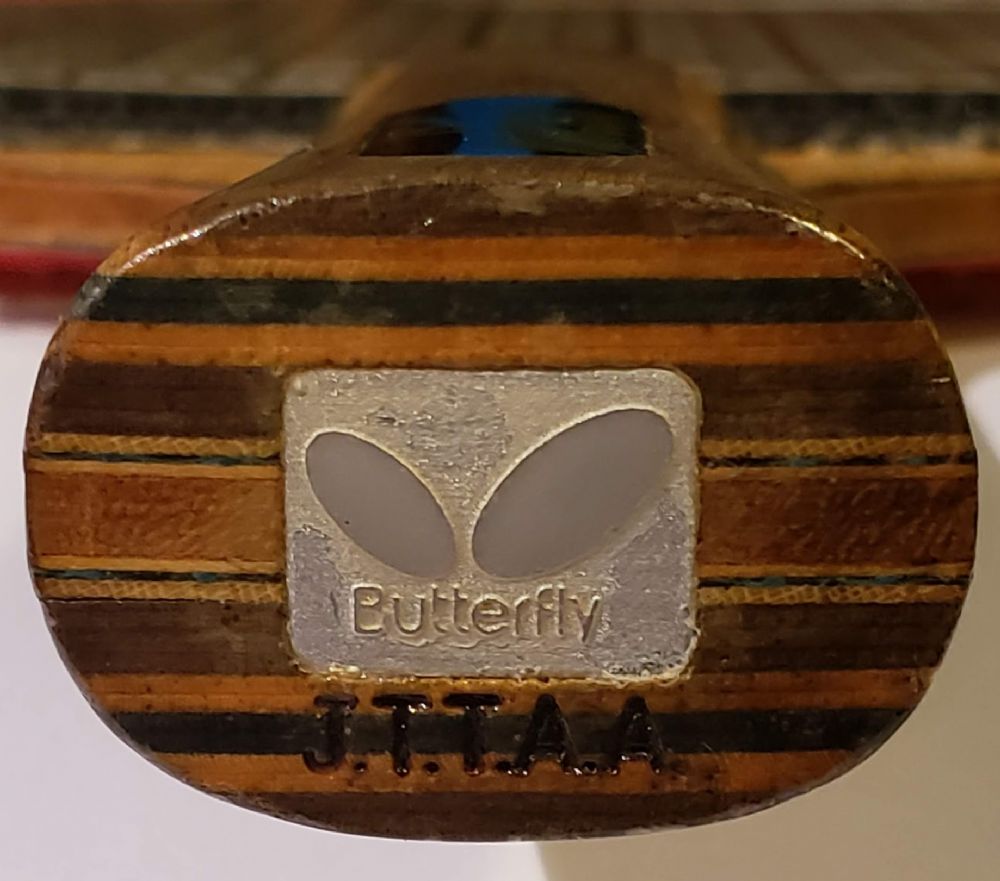
Firstly I just wanna say sorry for the watermark, it seems that there are some people who like to steal my repair pics and claim them as their own. A friend of mine asked me to fix his old Primorac Carbon that was in storage for some time. The blade was in pretty bad shape with some severe damage in the top ply and edges, besides the normal dirty. It was also very heavy at 104g, I must have absorbed some moisture during this time.  The first thing I did was to remove the handles, it was no surprise that they came out fairly easily. I would need to sand the top plies in order to fix them, this meant that the original lettering would disappear. I discussed it with the owner and he didn't mind so I went ahead. The edges were so banged up that the only way to save them was to re-rout the shape of the blade. This meant that the blade was going to loose about 1mm all around, which was also ok with the owner. After this I removed the most damaged parts of the top ply and replaced them with new ones. I used Hinoki for this, although it's impossible to match 20 year old wood, but because these areas were near the edges they won't affect playing. The smaller gaps were filled with wood putty. At this time I also decided to do some minor weight relief in order to make the blade more manageable.  To finalize the repair I cleaned and re-attached the handles, gave the blade a light sealing to prevent further splintering, and voilá! This one is ready for some more battles, and with 93g it will be a lot easier on the wrist.      |
||
|
SDC Handmade Blades / www.sdcttblades.com / Insta - @sdc_tt_blades / Facebook - @SDCblades
|
||
 |
||
| Sponsored Links | ||
|
||
|
Baal
Forum Moderator 
Joined: 01/21/2010 Location: unknown Status: Offline Points: 14336 |
Post Options
Thanks(0)
Quote Reply
Posted: 01/23/2021 at 7:23pm |
|
|
Wow! Amazing craftsmanship!
|
||
|
||
|
hleett
Super Member 
Joined: 04/13/2018 Location: USA Status: Offline Points: 499 |
Post Options
Thanks(0)
Quote Reply
Posted: 01/23/2021 at 8:59pm |
|
|
Great Job!!!
|
||
|
||
|
Hipnotic
Silver Member
Joined: 09/30/2019 Location: Portugal Status: Offline Points: 772 |
Post Options
Thanks(0)
Quote Reply
Posted: 01/24/2021 at 5:45am |
|
|
Thanks!
|
||
|
SDC Handmade Blades / www.sdcttblades.com / Insta - @sdc_tt_blades / Facebook - @SDCblades
|
||
|
||
|
windysummer1
Silver Member
Joined: 07/06/2017 Location: US Status: Offline Points: 556 |
Post Options
Thanks(0)
Quote Reply
Posted: 01/31/2021 at 8:40am |
|
|
I have a Primorac carbon but do not the large square FL on it so I had a skillful craftsman removed the original FL handle and put a newly made normal shape FL on it, I hope it doesn't change the center of gravity of this blade that much. But for sure, the new smaller handle makes it easier to switch between FH and BH.
|
||
|
My feedback
http://mytabletennis.net/forum/forum_posts.asp?TID=79696 |
||
|
||
|
Hipnotic
Silver Member
Joined: 09/30/2019 Location: Portugal Status: Offline Points: 772 |
Post Options
Thanks(0)
Quote Reply
Posted: 01/31/2021 at 1:14pm |
|
If the handle is smaller then it's probably lighter. That will decrease the total weight but shift the CG up a bit making it more head heavy, although the difference is probably small. Unless he used a heavier wood to match the weight of the original handle, then all is good.
|
||
|
SDC Handmade Blades / www.sdcttblades.com / Insta - @sdc_tt_blades / Facebook - @SDCblades
|
||
|
||
|
unstopabl3
Silver Member
Joined: 06/16/2011 Status: Offline Points: 685 |
Post Options
Thanks(0)
Quote Reply
Posted: 02/01/2021 at 4:47am |
|
|
Wonderful restoration.
What did you to use to fill the dings on the edges? Some kind of wood putty maybe? Edited by unstopabl3 - 02/01/2021 at 4:48am |
||
|
||
|
Hipnotic
Silver Member
Joined: 09/30/2019 Location: Portugal Status: Offline Points: 772 |
Post Options
Thanks(0)
Quote Reply
Posted: 02/01/2021 at 5:25am |
|
For the top ply I used a softer mix, trying to match the softness of the wood. After cleaning the edges there weren't many dings to fill, apart from the area where I replaced the top ply that was very damaged. In that area I used an harder mix to give some more protection.  |
||
|
SDC Handmade Blades / www.sdcttblades.com / Insta - @sdc_tt_blades / Facebook - @SDCblades
|
||
|
||
|
unstopabl3
Silver Member
Joined: 06/16/2011 Status: Offline Points: 685 |
Post Options
Thanks(0)
Quote Reply
Posted: 02/01/2021 at 6:09am |
|
|
Great worksmanship. You seem to be an expert at your work.
Can you share the name of the wood putty or other materials you used to fill the dings? And is it easy to fill minor dings at the edges by a newbie like myself? |
||
|
||
|
Hipnotic
Silver Member
Joined: 09/30/2019 Location: Portugal Status: Offline Points: 772 |
Post Options
Thanks(0)
Quote Reply
Posted: 02/01/2021 at 6:27am |
|
I mix these myself so I can't help you there. Just mix some regular wood glue with fine wood dust to make a paste. Fill the dings, let it fully dry then sand. It's a relatively simple job to do.
|
||
|
SDC Handmade Blades / www.sdcttblades.com / Insta - @sdc_tt_blades / Facebook - @SDCblades
|
||
|
||
|
kolevtt
Platinum Member 
Joined: 06/13/2011 Location: European Union Status: Offline Points: 2577 |
Post Options
Thanks(0)
Quote Reply
Posted: 02/01/2021 at 7:31am |
|
|
Good job, but you had to save the signatures on the face-side. |
||
|
||
|
Hipnotic
Silver Member
Joined: 09/30/2019 Location: Portugal Status: Offline Points: 772 |
Post Options
Thanks(0)
Quote Reply
Posted: 02/01/2021 at 8:24am |
|
Why? If I saved the original lettering I wouldn't be able to complete the repair efficiently. If I were to replace the original lettering, that would also defeat the purpose of keeping it original, and with a repair jog of this magnitude that boat had sailed long ago. As I've said, that was discussed with the owner and he couldn't care less about the lettering.
|
||
|
SDC Handmade Blades / www.sdcttblades.com / Insta - @sdc_tt_blades / Facebook - @SDCblades
|
||
|
||
|
JoeB
Super Member

Joined: 07/30/2015 Location: usa kentucky Status: Offline Points: 333 |
Post Options
Thanks(0)
Quote Reply
Posted: 02/01/2021 at 10:32am |
|
|
Nice job! Love how you left it as original as possible. There is nothing like nice aged wood.

|
||
|
Joe B BBC Hinoki/carbon
BBC Hinoki |
||
|
||
|
kolevtt
Platinum Member
Joined: 06/13/2011 Location: European Union Status: Offline Points: 2577 |
Post Options
Thanks(0)
Quote Reply
Posted: 02/01/2021 at 1:31pm |
|
Sanding the surface could be done more precisely and signatures could be saved. Anyway, if the owner is OK with that, there is not any problem. I don't understand why you have sanded that additional piece after and not before to attach it to the blade. I have done many restorations myself and I am always looking to keep the blade as much is possible in the original condition. I have one primorac carbon ST handle and I am also looking to repair it, also one Viscaria ST metal tag. I will share my job later when I am ready.  Edited by kolevtt - 02/01/2021 at 1:35pm |
||
|
||
|
Hipnotic
Silver Member
Joined: 09/30/2019 Location: Portugal Status: Offline Points: 772 |
Post Options
Thanks(0)
Quote Reply
Posted: 02/01/2021 at 4:41pm |
|
Because the layer was oxidized and full of glue residue. It was my intention to seal the blade to prevent further splintering, that couldn't be done over the original layer.
|
||
|
SDC Handmade Blades / www.sdcttblades.com / Insta - @sdc_tt_blades / Facebook - @SDCblades
|
||
|
||
|
kolevtt
Platinum Member
Joined: 06/13/2011 Location: European Union Status: Offline Points: 2577 |
Post Options
Thanks(0)
Quote Reply
Posted: 02/18/2021 at 11:01pm |
|
|
Here you can easy see - there's no need to sand all the blade, but to
prepare well preliminary the piece you will attach. Of course, that's
not so easy job, that's what I'm saying. Sanding all blade is = changing all the skills of the blade. Of course, once again I will write - If that's O.K.A.Y for the owner...There's not any problem at all. But I prefer to keep the blades I am repairing as much possible in the original condition. At the end - it is a question of personal taste, view and skills.    |
||
|
||
|
Hipnotic
Silver Member
Joined: 09/30/2019 Location: Portugal Status: Offline Points: 772 |
Post Options
Thanks(0)
Quote Reply
Posted: 02/19/2021 at 5:00am |
|
Your case is very different, if I had the same damage pattern I would also fix it in the same way, I would not remove about half of the top ply just to fix a small spot on the top edge. It's also about what the customer is willing to pay, if the repair is more complicated then it gets more expensive and the customer might not want that just because of an aesthetic reason. But ind the end I would do it just the same, the blade was having splintering problems and needed to be sealed, I couldn't do it over an oxidized and full of residue layer so I had no other option.
|
||
|
SDC Handmade Blades / www.sdcttblades.com / Insta - @sdc_tt_blades / Facebook - @SDCblades
|
||
|
||
|
Post Reply
|
|
 Tweet
Tweet
|
| Forum Jump | Forum Permissions You cannot post new topics in this forum You cannot reply to topics in this forum You cannot delete your posts in this forum You cannot edit your posts in this forum You cannot create polls in this forum You cannot vote in polls in this forum |
|
MyTableTennis.NET is the trading name of Alex Table Tennis Ltd. |

 Topic Options
 windysummer1 wrote: